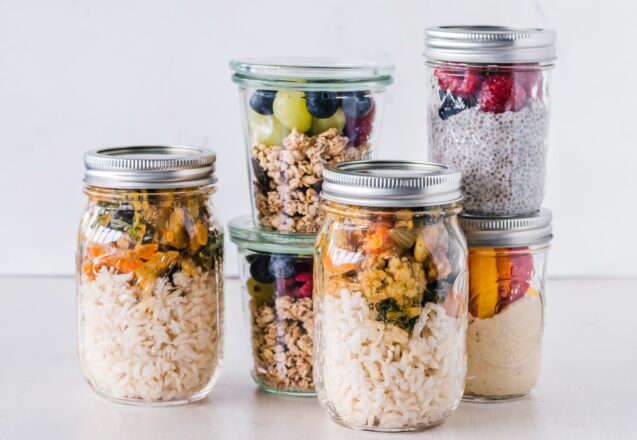
Meal Prep Tips
 Like most people, fixing a meal after a long day at work doesn’t often sound enticing. It’s simply too easy to go to the drive through and grab dinner. In fact, deciding what to eat can be overwhelming some nights, too. Meal prepping has become popular for those that want to eat healthier. It’s a process where you plan your week’s menu and shopping list one day and fix the meals over the weekend or days off work to store. Here are meal prep tips that makes it go faster.
Plan your meal ahead around sales and do double duty.
When you plan around sales, you’ll save money. However, planning to use the same vegetables, meat or fruit with other meals can also save money and time. If you’re planning a snack, make it cut up fruits and vegetables, then use the leftover veggies as part of your soup the next week. Are you roasting, broiling or baking meat like chicken, Cook extra meat at that time and either use it for other meals that week or store it in the freezer for the next week’s meals. Freeze the meat on a tray, separated and then put in a bag, so the pieces don’t stick together.
Use your oven to cook several meats or dishes at once.
You’ll save tons of time by putting several dishes in the oven at once and using all the stovetop burners. A lot of the time spent cooking is simply waiting for the meal to cook. When you’re cutting vegetables for snacks, cut extra for main dishes and side dishes. Plan a menu where you have leftovers for power bowl lunches and dinners. With good planning you’ll cut out those leftovers that develop fur in the back of the refrigerator.
You’ll limit dish washing if you’re using skillets and pans over and over.
When you cook several meals at once, you can use the same pan for sauteing Kale as you do sauteing onions. In fact, if you sauté onions first, you might not need to wipe out the pan at all and just enjoy the extra flavor. Track the type of pan you’ll use to prepare each dish and see if you can put it in an order that benefits you. Keep the menu simple. Use the main protein source several times. If it’s chicken, shred it for a Caesar chicken salad or chicken salad roll-up. By doing this, you’ve wiped out hours of cooking. Save stock from boiled meat to make soup or make bone broth.
- Take advantage of fresh seasonal vegetables that are lower in cost. You can cook and freeze some of it for later or use leftovers to make soup for the week and to freeze.
- Use a slow cooker or instapot to cook meals while you do stove top and oven cooking. Once in the oven, slow cooker or instapot, there’s plenty of time to cut fresh vegetables and prepare other side dishes and snacks.
- Save money and time by using frozen fruits and vegetables as part of your meal. They’re as nutritious or more nutritious than fresh if they don’t have any additives. Read the label.
- Always start your menu by checking your pantry and seeing what you already have. It’s especially important to check the use by dates, so you don’t let food go to waste.
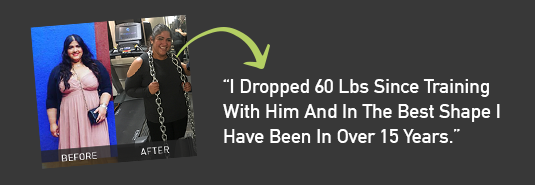
For more information, contact us today at UpFit Training Academy
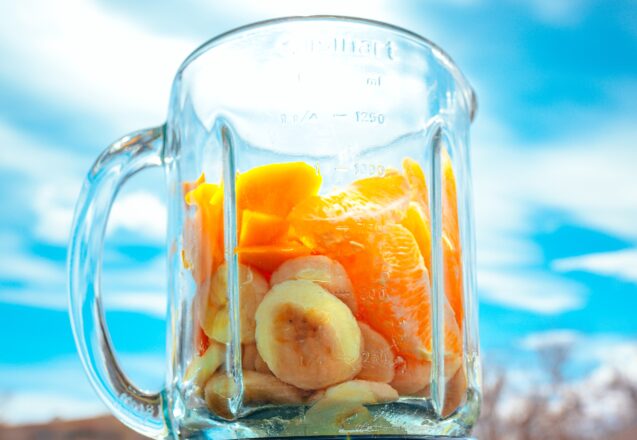
 If you’re wondering what the benefits of juicing are, compared to eating the whole fruit or vegetable, you’ll find that there actually aren’t any. In fact, when you juice, you actually lose the benefit of much of the fiber. There are some indirect benefits, meaning that there’s nothing magic about the juice, but by juicing, you’ll make changes in your diet of fresh fruits and vegetables that provide a benefit. For instance, you’ll probably drink more fruits and vegetables than you could ever eat if they were whole. According to science, there’s no evidence that if you drink the juice of a fruit, it’s healthier than eating the fruit.
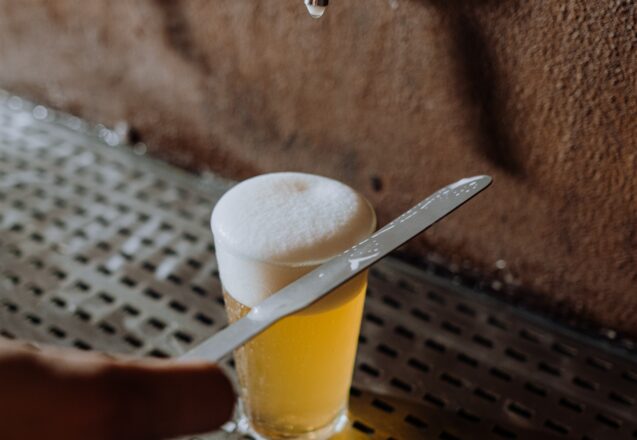
 At Upfit Training Academy in New York, NY, a lot of clients enjoy a glass or two of alcohol after work, and some even stop for a drink after a workout. However, if your goal is weight loss, everything that you eat or drink plays a role in whether you achieve your goals or not. Unfortunately, alcohol does have many negative effects, besides the diminished performance both mentally and physically, potential for addiction, increased risk of diabetes and liver disease. Those reasons alone should make you want to skip that drink. If you’re trying to lose weight There are other reasons you might want to stick with water when you gather with friends.
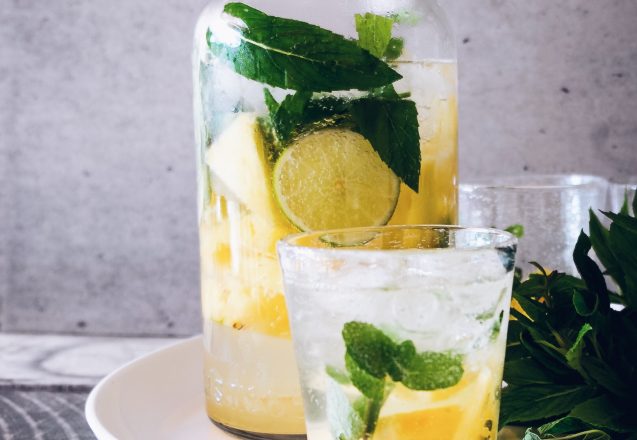
 You probably don’t feel much like drinking cold water when the weather is below zero, but it’s just as important as when it was 90 degrees and toasty. That makes it harder to stay hydrated during winter, since you feel less like drinking water. We focus on hydration all times of the year at Upfit Academy in New York, NY, because it’s so important for your body.
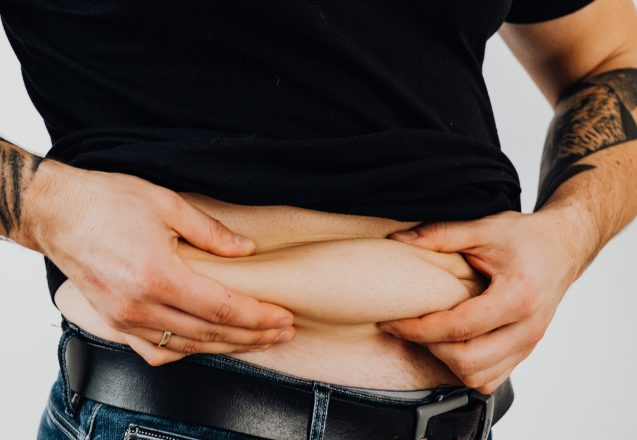
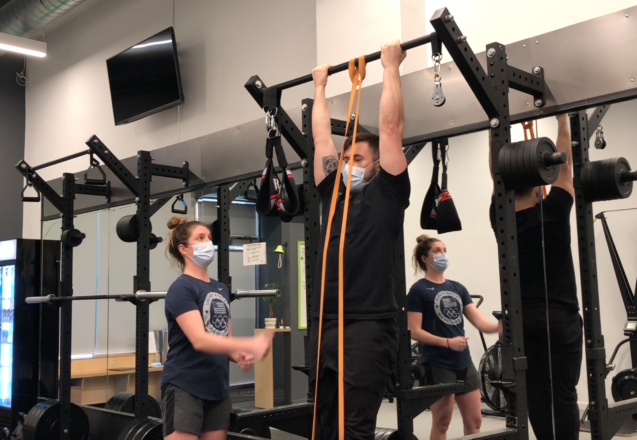
 When you exercise, you burn calories and that can cause you to lose weight, but does it cause you to lose fat? Not necessarily. Some aerobic exercises, such as running long distances, burn tons of calories, but those calories come from burning both fat and lean muscle tissue. If shedding fat is your goal, that simply won’t help. What does help burn fat? Strength building exercise helps burn fat. When you do strength training, you’re burning a lot of calories, but you’re also building muscle. That means the calories are coming from fat.

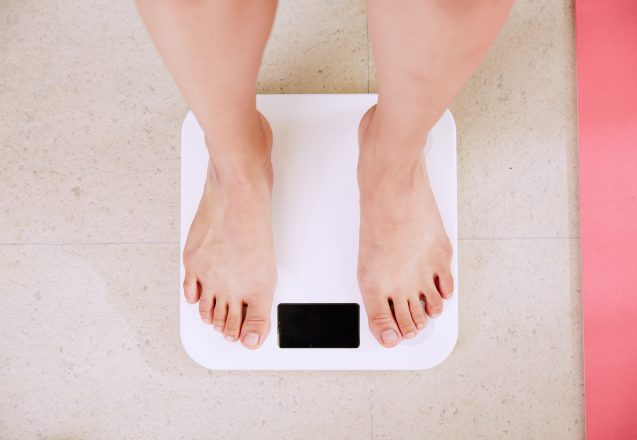
 Everyone has faced it at one time or another, a weight plateau. You may be doing almost everything right but still can’t lose more weight. You notice the word almost was used. That’s because there are things you can do to beat a weight loss plateau that can make a big difference. What is plateauing and why does it occur? Sometimes, plateauing occurs for a week or two, but it doesn’t mean you aren’t losing fat, it just means you aren’t losing weight. There’s a big difference. Muscle tissue weighs more per cubic inch than fat tissue does, it’s also more compact. That means a pound of muscle tissue would require a much smaller container than a pound of fat. While you might not be losing weight, you probably are replacing fat tissue with muscle tissue, so you look thinner.